Installing a performance exhaust should involve more than removing one pipe and bolting on another. Proper alignment, port fitment, oxygen-sensor placement and final tightening all influence how well the system fits, seals and performs.
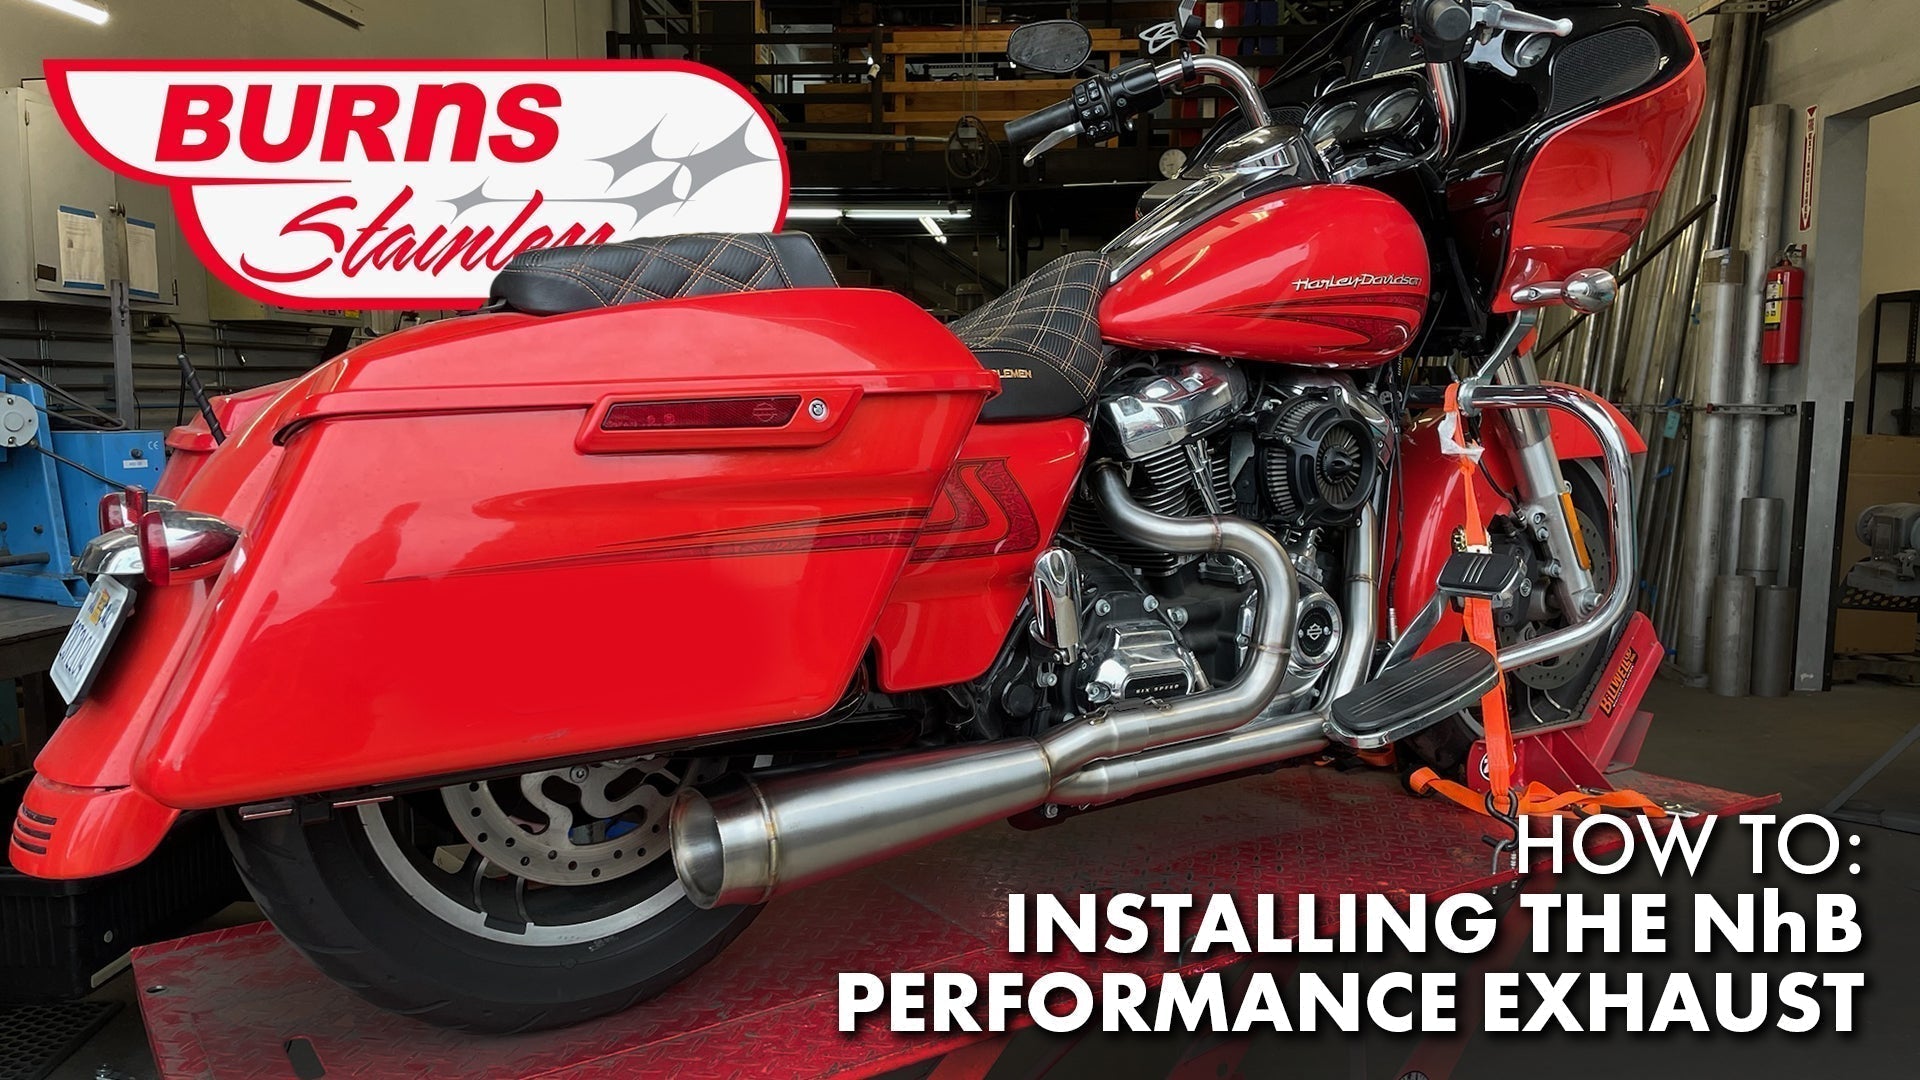
In the accompanying video, Vince and Madi install a Burns Stainless Big Momma NhB exhaust on a 2017 Harley-Davidson Road Glide while sharing several practical installation tips.
The following overview applies primarily to Milwaukee-Eight Touring and Bagger applications. Exact disassembly procedures, clearances and fastener torque specifications may vary by motorcycle. Always consult the appropriate Harley-Davidson service manual and the instructions supplied with your exhaust.
Before You Begin
Allow the motorcycle to cool completely and secure it upright on a stable lift or stand. Gather the required hand tools, a torque wrench, oxygen-sensor socket, residue-free cleaner and any replacement exhaust gaskets required for the installation.
Inspect the NhB system before beginning. A typical Burns Big Momma system includes the front and rear primary pipes, reverse-cone megaphone muffler and exhaust support bracket. Burns supplies both 12mm and 18mm oxygen-sensor bungs to accommodate factory and aftermarket sensor configurations.
1. Remove the Components Blocking Access
Remove the right-side saddlebag and any additional components that prevent access to the factory exhaust system. Depending on the model and existing exhaust, this may include the right footboard, heat shields or other mounting hardware.
Keep any factory hardware that will be reused organized and clearly identified.
2. Disconnect the Oxygen Sensors
Locate and disconnect the front and rear oxygen-sensor connectors before removing the sensors or turning the exhaust pipes.
Do not allow the sensor wiring to twist. Once disconnected, carefully remove the sensors from the existing exhaust and mark them so the front and rear sensors are not accidentally reversed during installation.
Inspect the sensor threads and wiring before transferring them to the new system.
3. Remove the Existing Exhaust
Loosen the muffler supports, exhaust brackets and cylinder-head fasteners before completely removing any individual component. Supporting the exhaust as the hardware is removed will keep its weight from pulling against the cylinder-head studs.
Carefully remove the existing muffler and primary pipes. Once the system is off the motorcycle, inspect the exhaust ports, studs and mounting points for damage or carbon buildup.
Install new exhaust gaskets when required rather than attempting to reuse damaged or compressed gaskets.
4. Prepare the NhB System
Determine which oxygen-sensor bungs will be used for the motorcycle’s sensor configuration. Install the sensors carefully, applying anti-seize only where recommended and keeping it away from the sensing element.
Unused oxygen-sensor bungs must be sealed with the appropriate plugs.
The Burns NhB design uses CNC-machined port fittings, oversized flanges and locking hardware to help position the header correctly against the Milwaukee-Eight exhaust ports. Correct port alignment is important because an abrupt mismatch or obstruction at the port can interfere with exhaust flow.
5. Install the Support Bracket
Position the supplied muffler support bracket on the motorcycle, but leave its fasteners loose.
Leaving the bracket adjustable at this stage allows the complete system to find its natural position. Tightening the bracket too early can place the primary pipes or muffler under tension and make final alignment more difficult.
6. Position the Primary Pipes
Carefully bring the front and rear primary pipes into position. Seat the port fittings squarely against the cylinder heads and start the exhaust nuts by hand.
Do not fully tighten the cylinder-head hardware yet.
Connect the primary sections and collector as designed, checking that each connection is fully seated. The entire assembly should remain slightly movable while the muffler and rear bracket are positioned.
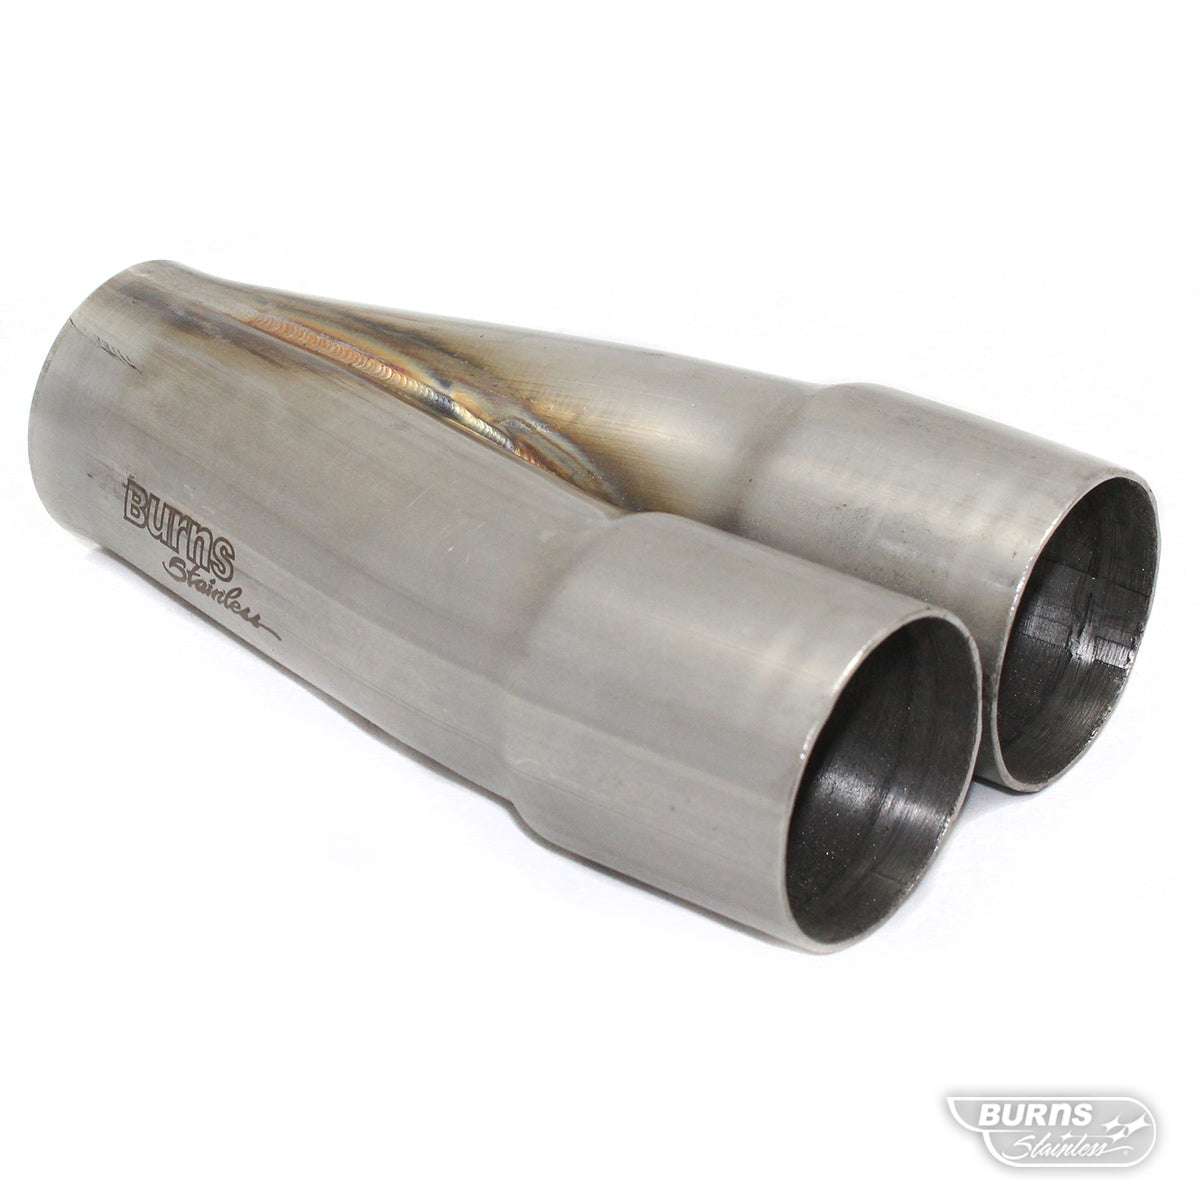
The NhB system uses stepped primary tubing and a two-into-one merge collector designed to maintain exhaust velocity, control reversion and support a broad powerband. Proper installation allows that engineered geometry to work without introducing stress or misalignment.
7. Install and Align the Megaphone Muffler
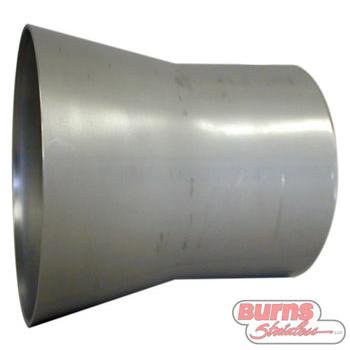
Fit the reverse-cone megaphone muffler onto the collector and connect it to the support bracket.
Before tightening anything, step back and inspect the complete system. Check clearance around:
- The saddlebag
- Footboard and controls
- Frame and engine components
- Rear tire and suspension
- Oxygen-sensor wiring
- Heat-sensitive hoses or electrical components
The muffler should sit naturally in the bracket without needing to be forced upward, downward or sideways.
8. Tighten the System Gradually
Once the complete exhaust is properly aligned, tighten the hardware progressively from the cylinder heads toward the rear support bracket.
Alternating between fasteners helps keep the flanges seated evenly. Tighten with a torque wrench to 100-120 in-lbs (11.3-13.6 N-m). Do not substitute guesswork for published specifications, particularly at the cylinder-head studs.
Secure the oxygen-sensor wiring away from the exhaust, moving components and sharp edges. Reinstall the footboard, saddlebag and any other parts removed for access.
9. Clean the Stainless Before Startup
Thoroughly clean the entire exhaust with a residue-free cleaner before starting the motorcycle. Fingerprints, oil and installation residue can become permanently discolored when heated.
Raw stainless steel will naturally change color through normal heat cycles. However, excessive temperature or an improper air-fuel ratio can cause extreme discoloration and may damage a ceramic coating. Burns recommends ensuring that high-performance engines are properly tuned and operated within safe temperature ranges.
10. Perform the Final Inspection
Start the motorcycle in a well-ventilated area and listen for exhaust leaks. Watch for unusual movement and verify that the system maintains adequate clearance as the motorcycle warms.
After the first complete heat cycle:
- Allow the motorcycle to cool.
- Inspect the cylinder-head connections.
- Recheck the collector and muffler joints.
- Verify bracket and sensor-wire clearances.
- Retighten hardware according to the proper specifications.
A final dyno tune is strongly recommended after installing a performance exhaust, especially on large-displacement or heavily modified Milwaukee-Eight engines.
Designed to Fit—and Built to Perform
A Burns Stainless NhB exhaust is engineered as a complete performance system rather than a collection of oversized tubing. Its port fittings, stepped primaries, merge collector and reverse-cone megaphone are designed to work together.
Taking time during installation to keep the components loose, align the complete system and tighten everything in the correct sequence helps protect that engineering—and gives the motorcycle the fit, sound and performance the NhB system was built to deliver.